
Cold Process Soapmaking
Handmade Orange & Clove Soap

Handmade soap is natural skin care without harsh detergents and unnecessary fillers. Rocky Corner chooses beautiful, high-quality oils as our base, then we add fragrance/essential oils, labcolors, micas, french green clay and/or botanicals for a custom one-of-a-kind soap.
The process is a recipe the soapmaker creates, usually using a computerized calculator. Oils saponify (change from oil to soap during a chemical reaction) using a water/sodium hydroxide mixture. Recipe ingredients should be weighed using a digital scale for better accuracy.
Completely melt the oils together in a large stainless steel or enamel coated pot. Put on your safety gear; eye goggles or safety glasses, rubber gloves and an apron. Weigh your water in a stainless steel or enamel coated pot. Weigh your sodium hydroxide into a large plastic bowl (I use a large tub that I used to store leftovers in). With plenty of ventilation, gently begin to add the sodium hydroxide to the water; NEVER add the water to the sodium hydroxide. Continuously stir until all is dissolved, being careful as mixture will begin to heat very rapidly.
Carefully draw a cold water bath in the sink to cool the lye/water and/or your oils to the same temperature. I like to use a temperature of 130 degrees to cool my oils and my lye mixture to. It allows me extra time if I need to color/fragrance several smaller batches out of the large batch without cooling too much.

Again, with your safety gear on, very gently drizzle the lye/water mixture into the melted oils. As you drizzle, gently stir in a figure 8 pattern. You'll begin to see the beginning of the chemical reaction, as your soap mixture will begin to thicken in the pot.


When all ingredients are combined, it's time to get creative!! Today, we made Sweet Orange & Clove Soap so we began with crushed cloves and dried orange zest we made ourselves.


Using a stick blender, begin to blend the soap mixture until it is the consistency of thin pudding. At that point, add your fragrance/essential oil(s) and stir well with a stainless steel spoon or stick blender. When you lift the spoon/blender and soap sits on the top of the mixture before it settles back into the pot, that's called "trace" and it's TIME TO POUR !! :)
Carefully pour the soap mixture into pre-lined molds, working quickly and efficiently (remember your safety gear).


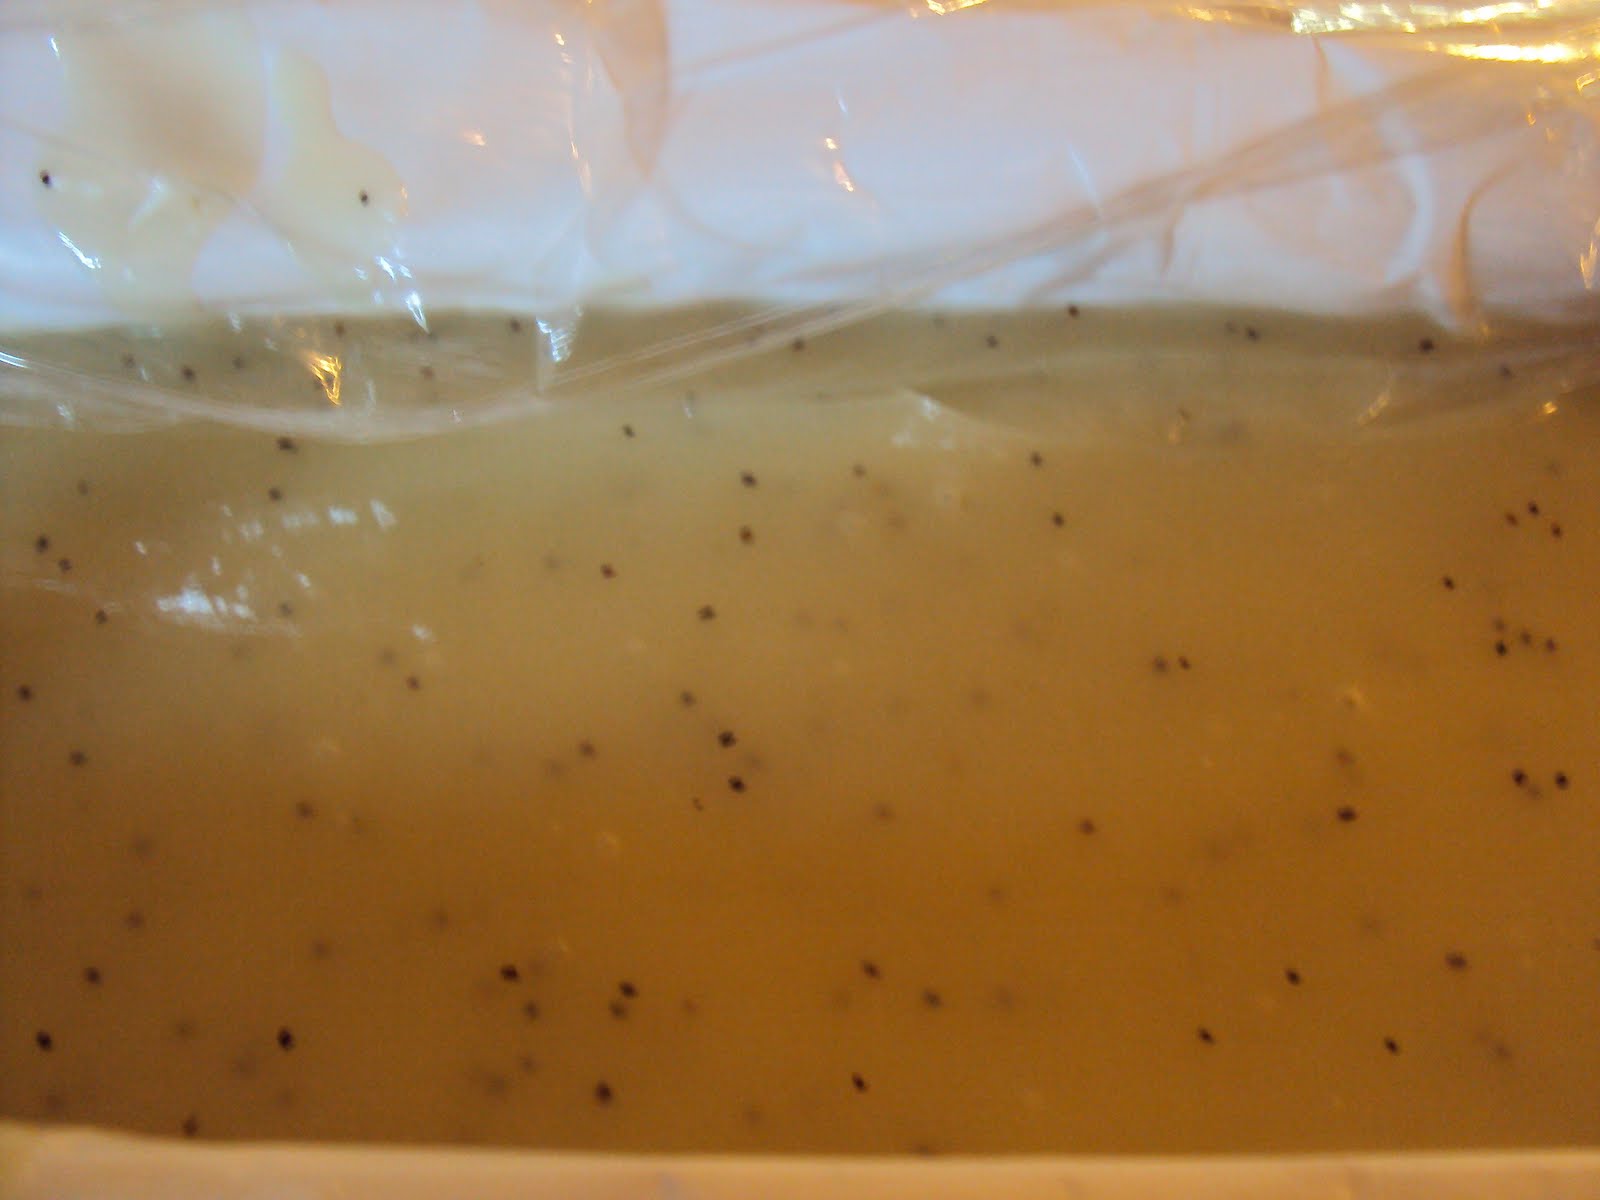

Cover each mold with plastic wrap, making sure there's no air under the wrap because soda ash may be produced. I use 1" thick handmade pine molds that have matching wood covers for extra insulation. Lastly, cover your soap evenly with a pile of cozy blankets and DON'T PEEK for 24 hours.
After 24 hours has passed, carefully unmold your soaps...gloves on your hands as the soap is still a bit caustic. Trim, cut and rack your soap for 4-6 weeks to allow it to dry, harden and so the ph levels out a bit.
You've created something very unique and special...ENJOY!!
As always, if you have any questions about the information posted here, please contact me through our website, RockyCornerSoapworks.com and remember, you're working with a dangerous chemical...SAFETY FIRST!
Until next time.....
Karen